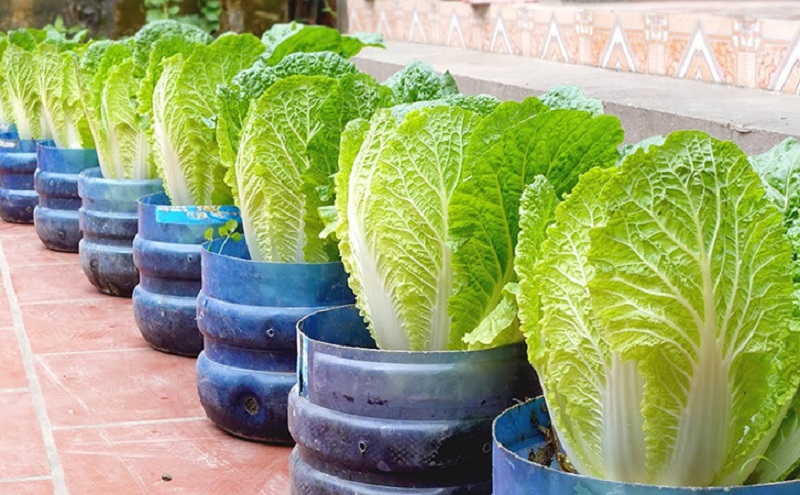
When the garden slows down for the season, I love finding small ways to keep fresh greens close at hand. Napa cabbage—also called Chinese cabbage—can be grown in containers indoors, giving a sunny windowsill a little garden life during fall and winter.
Growing Napa cabbage at home takes more than simply putting a pot by the window. The plants need strong light, roomy containers, consistent moisture, and cool conditions. With the right setup, you can harvest tender leaves for salads, soups, and stir-fries. You can also sow seeds in small batches every couple of weeks for a more regular supply.
Can You Grow Napa Cabbage Indoors?
Yes, but it helps to set realistic expectations. Napa cabbage is a cool-season crop, and forming a full, tight head indoors can be challenging if the room is warm or the light is weak. Plants may grow loose leaves instead of compact heads, and they can bolt—produce a flower stalk—when stressed by heat, irregular watering, or other growing conditions.
For the best chance of success, choose a compact variety, use a bright location or a grow light, and keep the plant as cool as your home comfortably allows. You can harvest outer leaves as the plant grows, even if it does not form a large head.
What You’ll Need
⦁ Napa cabbage seeds, preferably a compact variety suited to container growing
⦁ Seed-starting mix
⦁ One container per plant, ideally 4–5 gallons (about 15–19 liters) with drainage holes
⦁ A saucer or waterproof tray
⦁ High-quality potting mix for vegetables
⦁ A sunny window or an LED grow light
⦁ A watering can or spray bottle
⦁ A balanced fertilizer labeled for edible vegetables
A large container is important because Napa cabbage needs room for its roots and leaves. Avoid using garden soil in pots; it can become compacted and may not drain well indoors.
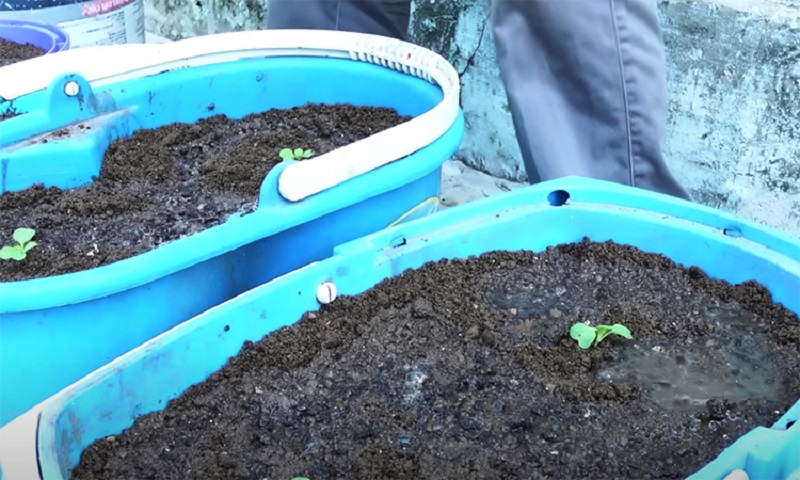
Starting Napa Cabbage Seeds
I like to start seeds in a small nursery pot or seed-starting tray, then move the seedlings into their final containers while they are still young. Cabbage seedlings establish best when their roots are handled gently.
1. Fill a small container with pre-moistened seed-starting mix.
2. Sow the seeds about ⅜ inch deep (around 1 centimeter), then cover lightly with mix.
3. Place the container in a warm, bright spot. Covering it loosely with plastic can help retain moisture, but remove the cover as soon as seedlings emerge.
4. Keep the mix lightly moist, not soggy.
5. Seeds often sprout within a few days, though timing depends on the variety and growing conditions.
Once the seedlings emerge, move them into strong light. Don’t leave them in a dim spot: young cabbage plants can become tall, thin, and weak.
Transplanting Seedlings into Larger Pots
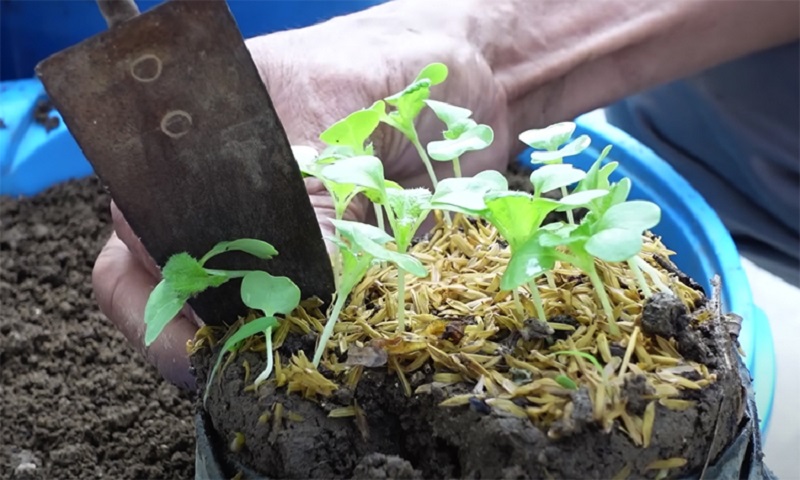
Transplant when seedlings are about 5–6 inches tall (roughly 13–15 centimeters) and have begun developing true leaves. This is usually around a week or a little longer after germination, depending on conditions.
Fill each large pot with moist potting mix. Set the seedlings near the outer edge of the container, leaving room for their leaves to spread. For a 4–5-gallon pot, I’d start with one plant unless the container is especially wide. Crowded plants compete for light and nutrients and are less likely to form good heads.
Water gently after transplanting to settle the soil around the roots. If you started several seedlings together, keep the strongest one in each pot and snip the others at soil level rather than pulling them out.
Give the Plants Plenty of Light—and Keep Them Cool
Light is one of the biggest challenges of indoor Napa cabbage growing. A bright south-facing window may be enough in some homes, but short fall and winter days can limit growth. If the leaves look pale or the plant becomes stretched and floppy, add a grow light and follow the manufacturer’s directions for placement and daily use.
Napa cabbage prefers cool growing conditions. Keep the pot away from heaters, radiators, and hot air vents. A cooler, bright room or enclosed porch may be a better choice than a warm kitchen, provided the plant is protected from freezing temperatures.
Watering and Feeding Indoor Napa Cabbage
Cabbage likes steady moisture. Water when the surface of the potting mix begins to feel dry, and continue until a little water drains from the bottom. Empty the saucer afterward so the roots aren’t left sitting in water.
In the original growing method, plants are watered every two to three days. Indoors, though, the right schedule depends on pot size, room temperature, light, and humidity. Check the soil rather than watering by the calendar. The potting mix should stay evenly moist—not waterlogged and never allowed to dry out completely.
Once the plants are actively growing, feed them with a balanced fertilizer labeled for vegetables. Follow the package directions; too much fertilizer can damage roots or encourage leafy growth at the expense of a firm head.
Harvesting Leaves and Heads
When the plants are established, you can pick a few outer leaves for a quick meal while leaving the center intact. Young leaves are tender and work nicely in salads, wraps, and stir-fries.
Some growers remove a few outer leaves as the plant matures to encourage a more upright shape. I prefer to remove only damaged or unusually low leaves, since healthy foliage helps the plant grow. Avoid stripping away too many leaves at once.
A full head may take roughly 2–3 months from sowing, depending on the variety and indoor conditions. Harvest when the head feels firm and has reached the size described on the seed packet. Cut it at the base with a clean knife.
If the plant begins to bolt, harvest the usable leaves promptly. Bolting often makes the leaves more bitter and signals that the plant is stressed or responding to warmer conditions.
Succession Sowing for a Longer Harvest
For a steady supply of greens, sow a small batch of seeds every two weeks instead of planting everything at once. This is called succession sowing. It can help spread out harvests, although each batch will still need enough light and container space as it grows.
A simple routine might look like this:
⦁ Sow a few seeds in a small pot.
⦁ Move the strongest seedling into its own large container.
⦁ Start another small batch about two weeks later.
⦁ Harvest outer leaves as needed, then cut the head when it is firm.
Only start as many plants as you can give adequate light and space. A few healthy containers are usually more rewarding than a crowded row of struggling plants.
Common Indoor Napa Cabbage Problems
| What you notice | What to check |
| Tall, weak seedlings | The plants may need stronger light or a grow light. |
| Loose or small heads | Check light, container size, spacing, and whether the room is too warm. |
| Wilting leaves | Feel the potting mix; it may be too dry, or the roots may be sitting in water. |
| Yellowing leaves | Check drainage, watering habits, and fertilizer instructions. |
| Flower stalk forming | Heat, stress, or changing day length may be encouraging the plant to bolt. Harvest usable leaves soon. |
| Slow growth | Check light levels, temperature, moisture, and whether the plant has enough room. |
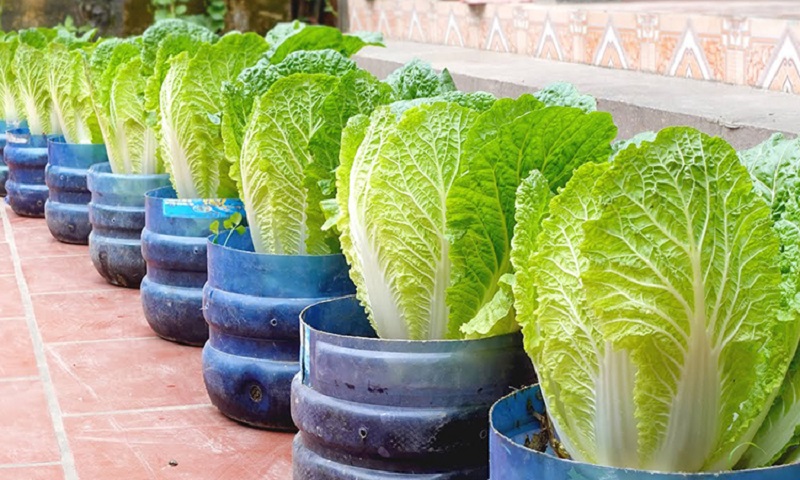
Cozy Ways to Use Your Harvest
Fresh Napa cabbage is wonderfully versatile. I like to use the tender leaves in:
⦁ A crisp salad with carrots and a light sesame dressing
⦁ Stir-fried vegetables with rice or noodles
⦁ Homemade soups and broths
⦁ Lettuce-style wraps with a savory filling
⦁ Slaws with apples, scallions, or toasted nuts
Harvest only what you plan to use, and rinse the leaves under cool running water before cooking or serving.
A Small Indoor Garden for the Cooler Months
Growing Napa cabbage indoors can bring fresh, homegrown greens into the kitchen long after the outdoor garden has quieted down. The most important things are a roomy pot, strong light, cool conditions, and soil that stays evenly moist.
I’d begin with one or two plants and see how they respond to the light and temperature in my home. If they thrive, sowing another small batch every couple of weeks can make the harvest last longer. And even when a plant doesn’t form a perfect, tight head, its tender leaves can still make a lovely addition to a family meal.