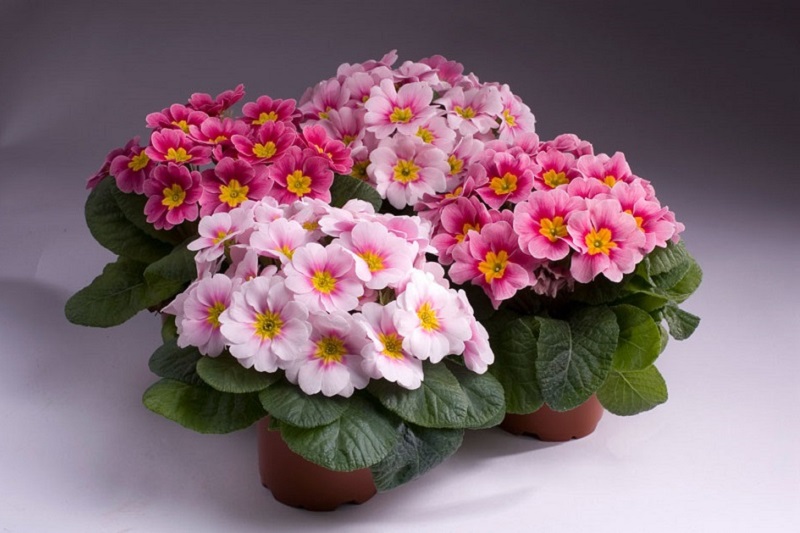
A cheerful primrose in bloom can brighten a spring garden like almost nothing else. But the potted primroses sold in stores may not always settle in happily after flowering. Many are grown under greenhouse conditions to bloom on schedule, and the transition to a home or garden can be stressful for them.
Growing primrose from seed takes a little patience, but it can be a lovely way to raise sturdy plants that are better prepared for your garden. At Our Cozy Home, I enjoy starting flowers at home and watching them grow from tiny seeds into something beautiful. The key with primrose seeds is giving them the right conditions—and resisting the urge to bury them in soil.
Why Grow Primrose from Seed?
Primroses come in many colors and forms, making them a charming choice for early-season flower beds, borders, and containers. Starting your own plants gives you a wider selection than you may find at a local store and lets you raise seedlings gradually, at home.
It’s worth knowing that primrose seeds can be slow or uneven to germinate. The timing depends on the variety and how fresh the seeds are. Some may sprout in about a week, while others can take several weeks. Don’t give up if your seed tray looks quiet at first.
What You’ll Need
⦁ Fresh primrose seeds
⦁ A container at least 4 inches deep (about 10–12 inches is ideal for the method described here)
⦁ A light, moisture-retentive seed-starting mix or a quality all-purpose potting mix
⦁ A spray bottle or small watering can
⦁ A clear plastic bag or humidity cover
⦁ Plant labels and a pencil
⦁ A cool, dim place for germination
⦁ A bright spot with indirect light for seedlings
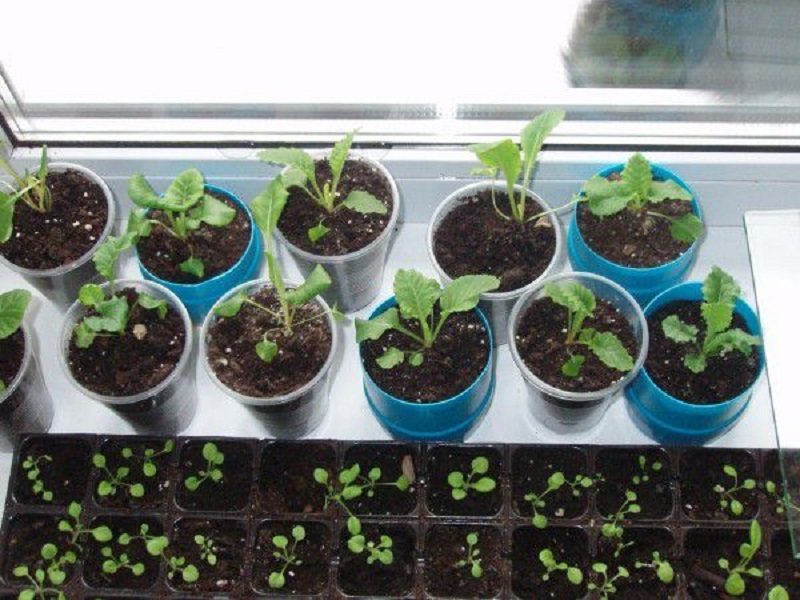
You can sow seeds in one larger container or use individual plastic cups with drainage holes. Individual cups may reduce the need to separate seedlings later, which is helpful because young primrose roots can be fine and delicate.
Prepare the Container and Soil
Choose a clean container with drainage holes. Fill it with lightly moistened potting mix, leaving about ¾–1 inch of space at the top. The mix should feel damp but not soggy.
The original method recommends watering the soil with a weak, hot potassium permanganate solution. I don’t recommend using this at home: the concentration can be difficult to measure safely, and it isn’t necessary for ordinary seed starting. Instead, use clean containers and fresh, well-draining potting mix.
Sow Primrose Seeds on the Surface
Primrose seeds need light to germinate, so don’t cover them with soil.
1. Scatter the seeds evenly over the surface of the damp mix. If you’re using individual cups, sow one or a few seeds per cup.
2. Press the seeds gently against the soil so they make good contact.
3. Label the container with the variety and sowing date.
4. Cover the container with a clear plastic bag or humidity cover to help keep the surface from drying out.
If you sow several seeds in one container, leave a little space between them. This makes it easier to handle the seedlings later.
Keep the Seeds Cool and Check Them Regularly
The source method recommends keeping covered primrose seed containers in a dark place for germination. However, primrose varieties differ, and many seeds germinate best with light. A safer general approach is to follow the directions on your seed packet. If the packet says to surface-sow, leave the seeds uncovered and place the container in bright, indirect light.
Keep the mix evenly moist, not waterlogged. Check the container every few days. Once seedlings begin to appear, remove the cover gradually and move the container to a bright location out of direct, hot sun.
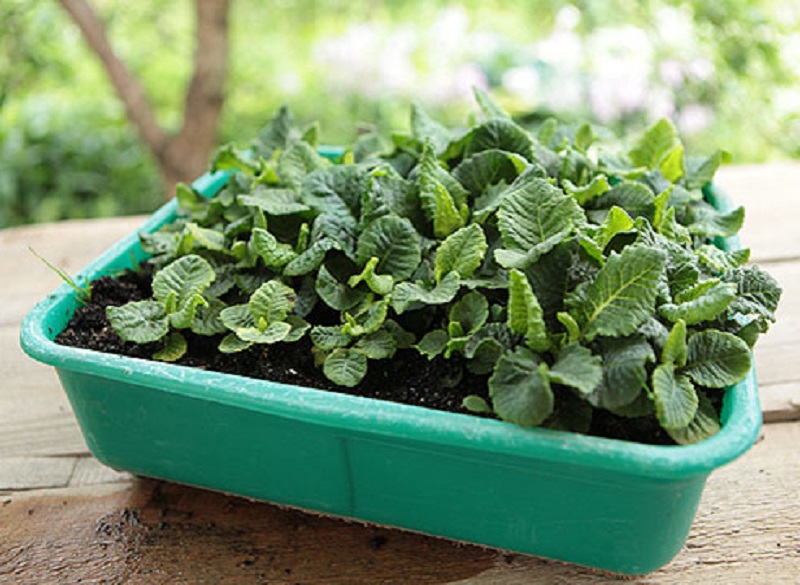
Some varieties may sprout in about 1–2 weeks, while others can take a month or longer. Keep the container labeled and continue checking it for the germination period listed on the packet.
Give Seedlings Gentle Light
New primrose seedlings are tender and can dry out quickly. Place them near a bright window, but avoid a hot, sunny windowsill that could overheat the soil or scorch the leaves. A north- or east-facing window may provide suitable gentle light, depending on your home.
If seedlings look pale, stretch toward the window, or grow tall and weak, they may need brighter light. Turn the container occasionally so the seedlings grow more evenly.
Water Carefully and Handle Roots Gently
Keep the soil lightly moist while the seedlings grow. A spray bottle can help prevent tiny seeds and seedlings from being washed away. You can also water from the bottom by setting the container in a shallow tray of water and removing it once the mix has absorbed moisture.
When seedlings are large enough to handle and have developed true leaves, thin or transplant them as needed. Lift each seedling gently by a leaf rather than pulling on its stem. Primrose roots are delicate, so handle them carefully and avoid letting them dry out during transplanting.
From Indoor Seedlings to the Garden
Before planting outdoors, gradually acclimate the seedlings to outdoor conditions. Set them outside in a sheltered, shady spot for a short time each day, increasing the time over about a week. Bring them in if temperatures or weather conditions are unsuitable.
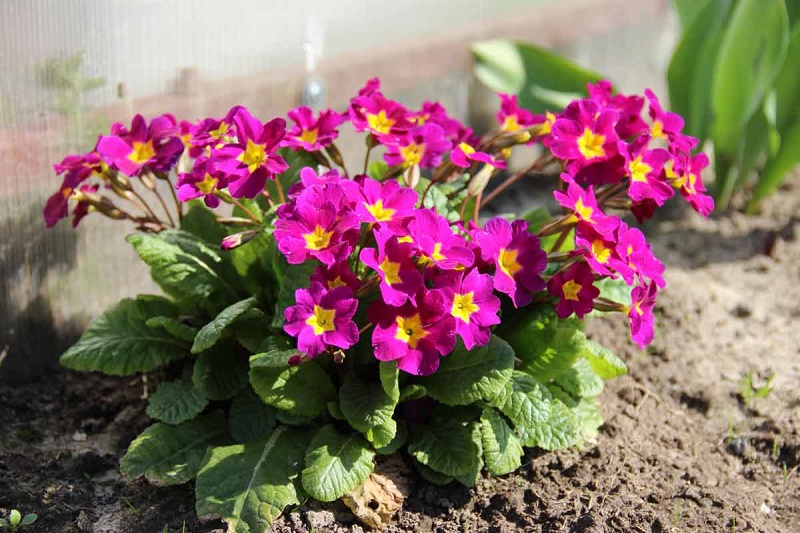
Plant primroses in a location that matches the variety’s needs. Many garden primroses prefer partial shade and soil that stays evenly moist but drains well. Check the seed packet for specific spacing, hardiness, and planting instructions.
Common Primrose Seed-Starting Problems
Troubleshooting Seed Germination
| What you notice | What to check |
| No seedlings after a week | Germination may take several weeks; check the packet and keep the mix lightly moist. |
| Seeds seem to disappear | Avoid covering them with soil, and water gently so they aren’t washed away. |
| Mold appears on the soil | Improve airflow, remove the cover once seedlings emerge, and avoid soggy soil. |
| Seedlings look pale or stretched | Move them to brighter indirect light. |
| Seedlings wilt soon after watering | Check drainage and make sure the soil is not staying waterlogged. |
A Little Patience Brings a Lovely Spring Reward
Growing primrose from seed isn’t always instant, but it can be deeply satisfying. Sow the seeds on the surface, keep them moist, and follow the germination directions for your particular variety. Once the seedlings emerge, give them gentle light and handle their roots with care.
With a little patience, those tiny seedlings can grow into healthy garden plants and bring a welcome splash of color when spring arrives. For me, that slow, hopeful process is part of the pleasure of gardening—and a lovely reminder that a beautiful garden often begins with something very small.