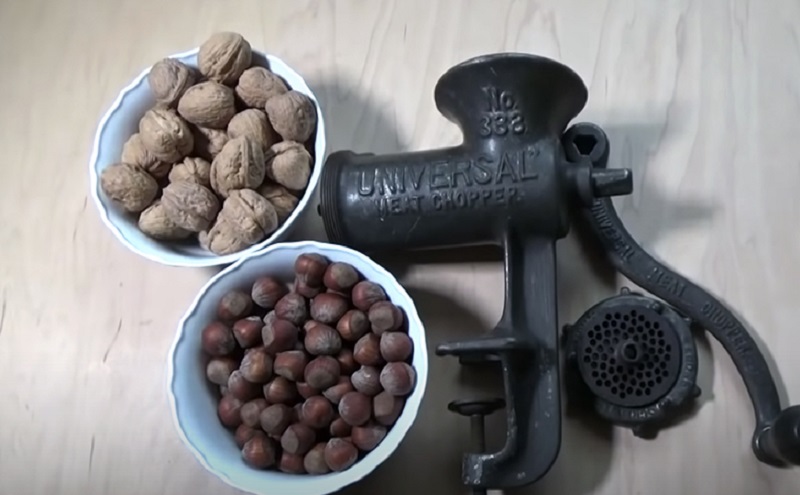
When autumn rolls around, I find myself reaching for walnuts, hazelnuts, and pecans more often—for baking, homemade treats, and cozy evenings with a cup of tea. But cracking a bowlful of nuts with a hammer can be messy, tiring, and hard on the kernels.
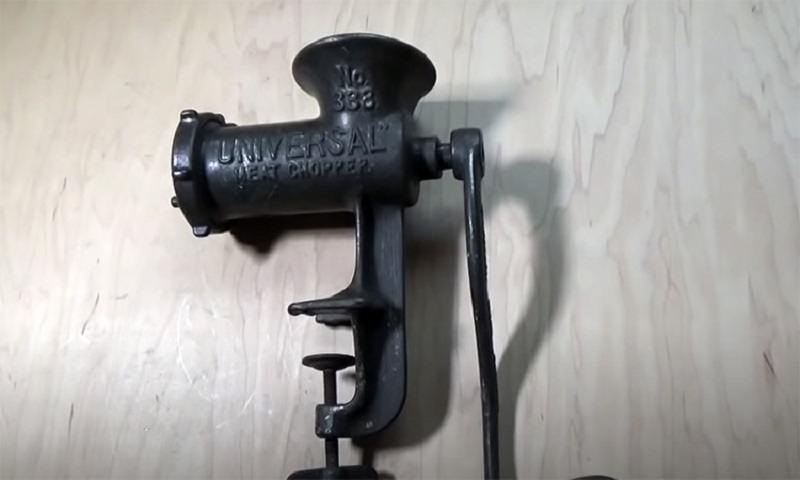
An old hand-crank meat grinder might seem like an unlikely kitchen relic, but it can inspire a clever upcycling project. With a few carefully considered modifications, its sturdy body and turning handle may be adapted into a small-batch nut cracker. Before you begin, though, keep safety in mind: meat grinders are not designed or tested for cracking nuts, and modifying one can create sharp edges or pinch points. Never use a modified grinder for meat or other food preparation.
Why Repurpose an Old Meat Grinder?
Many older manual meat grinders were built with durable metal parts and a simple crank-driven mechanism. If yours is no longer used for grinding meat, repurposing it can be a satisfying way to give a familiar household item a new role.
A homemade nut cracker may be useful when you need a modest amount of nuts for cookies, cakes, or salads. It can also help reduce the temptation to buy pre-shelled nuts, which may cost more than nuts still in their shells. Results will depend on the grinder’s construction, the type and size of the nuts, and how the device is modified.
This is a DIY experiment—not a guaranteed replacement for a purpose-built nutcracker. Test it slowly with a few nuts before deciding whether it works well for your needs.
What You’ll Need
⦁ An old hand-crank meat grinder that you will permanently dedicate to this project
⦁ A metal-cutting hacksaw, if the design requires cutting
⦁ A drill and a suitable metal drill bit
⦁ Correctly sized washers or spacers, if needed for your design
⦁ A vise or clamps to hold parts securely while working
⦁ Safety glasses and work gloves
⦁ A small bowl or tray to catch kernels and shell pieces
⦁ A few nuts for testing, such as walnuts or hazelnuts
Do not use improvised furniture washers unless you know exactly what material they’re made from and that they can withstand the pressure. Any part that contacts the nuts should be clean, food-safe, and securely fitted. If you’re unsure, skip the modification or use a purpose-made nutcracker instead.
Before You Start: Important Safety Notes
A meat grinder is not engineered to crack nuts. Its internal parts may jam, bend, or break under pressure, and cutting or drilling the body can leave dangerous burrs. Shell fragments can also fly out unexpectedly.
⦁ Wear eye protection. Small shell pieces and metal filings can cause eye injuries.
⦁ Secure the grinder before drilling or cutting. Never hold a metal part in your hand while working on it.
⦁ Remove sharp burrs. File and inspect any cut or drilled edges before handling the modified part.
⦁ Keep fingers away from the feed opening and moving parts. Use a tool designed for feeding items if necessary; never push nuts in by hand while turning the crank.
⦁ Stop if the handle resists, the grinder jams, or any part shifts. Don’t force the mechanism.
⦁ Do not use the modified grinder for food preparation. Once altered for shelling, keep it separate from equipment used to grind meat or other foods.
⦁ Avoid powered operation. Do not attach a drill or motor to the crank.
If you’re not experienced with metalworking, ask a qualified person to handle any cutting or drilling—or choose a conventional nutcracker.
How to Adapt a Hand-Crank Grinder for Nut Cracking
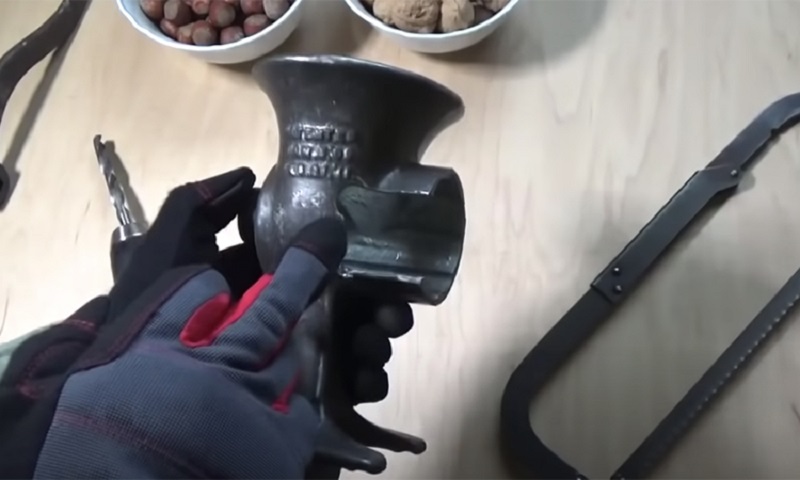
Because meat grinders vary in design, there is no one-size-fits-all modification. The general idea is to create a controlled space where the shell can crack while the kernel is directed into a separate collection area. The exact construction must suit the specific grinder, and the finished tool should not have exposed sharp edges or loose parts.
1. Clean and inspect the grinder
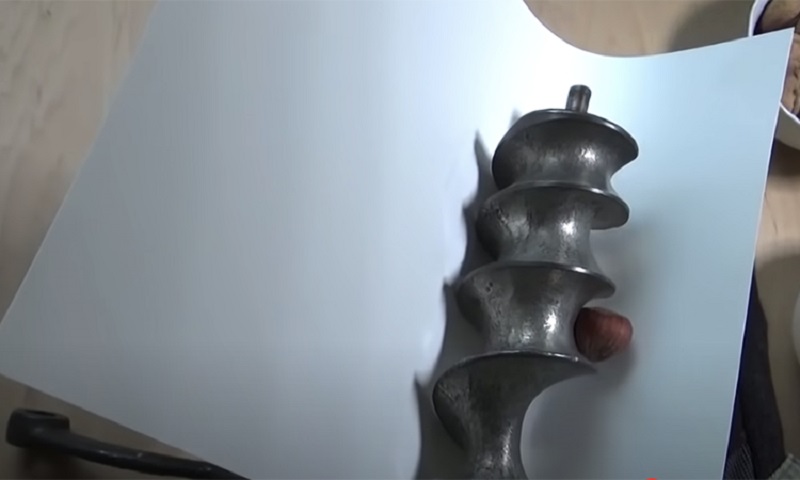
Take the grinder apart and wash the removable pieces thoroughly. Remove old residue and inspect the body, auger, handle, and fasteners. Don’t use a unit with cracks, rust, loose fittings, or damaged parts.
Once the grinder is clean and dry, set it aside for this project only. Do not return it to food preparation after modifying it.
2. Check the size and fit
Compare the opening and auger area with the nuts you plan to crack. Large walnuts may need to be opened or broken into smaller sections first. Start with a few nuts rather than loading the grinder.
Keep in mind that different nuts have different shell thicknesses. A setting that works for a hazelnut may crush a walnut kernel or fail to crack a pecan shell.
3. Plan the shell and kernel path
Before cutting or drilling anything, think through where the shell pieces and kernels will go. The original grinder’s outlet and auger are designed for food, not for separating shells from kernels, so a simple modification may not produce clean separation.
If your plan requires cutting the body or drilling holes, mark the intended locations and have the grinder securely clamped. Do not proceed if the modification would weaken the body, interfere with the handle, or create a sharp opening. A properly designed commercial nutcracker is the safer option if you can’t create a stable, enclosed setup.
4. Add only secure, suitable spacers
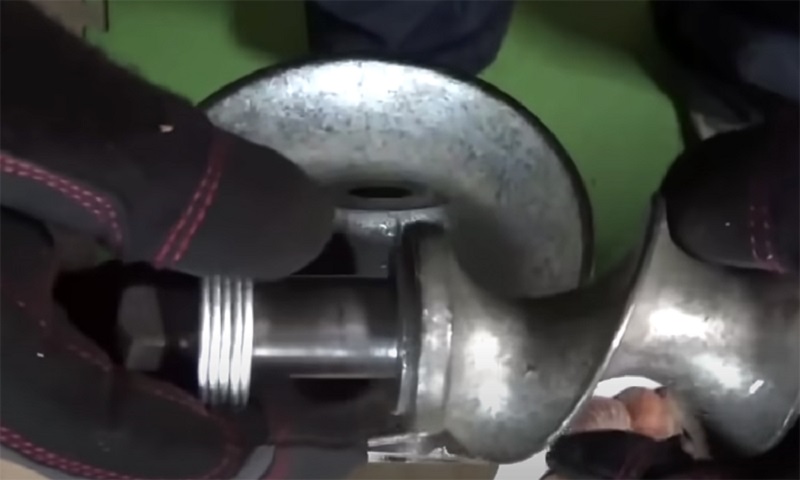
Some DIY approaches use washers or spacers to steady a nut during cracking. Any spacer must fit securely and must not loosen, shift, or become caught in the mechanism. Avoid rough, improvised, or unidentified materials.
After assembly, turn the handle slowly with no nuts inside. If anything rubs, wobbles, or catches, stop and correct the problem before testing.
5. Test one nut at a time
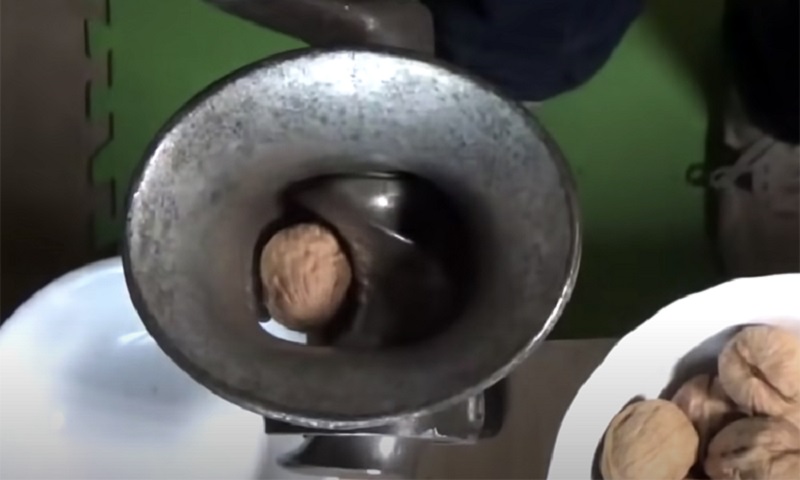
Place one nut in the working area and turn the crank slowly. Keep your hands clear of the feed opening and the outlet. Check whether the shell cracks without forcing the handle.
If the kernel is crushed, the shell does not crack, or the mechanism jams, stop. Do not try to compensate by pushing harder or adding more nuts.
6. Collect and inspect the results
Catch the output in a bowl or tray, then separate the kernels from shell pieces by hand. Inspect each kernel carefully before using it in a recipe. Shell fragments can be difficult to see, especially among chopped nuts.
Tips for Better Results
⦁ Work in small batches. Testing one nut at a time helps prevent jams and makes it easier to assess the mechanism.
⦁ Choose nuts of similar size. Mixed sizes can crack unevenly.
⦁ Start with sturdy nuts. Try a few hazelnuts or walnuts before attempting a large batch.
⦁ Don’t force the handle. Resistance is a sign to stop and inspect the device.
⦁ Clean it after every use. Shell dust and fragments can collect inside moving parts.
⦁ Use a tray with raised sides. It helps contain shells and keeps the work surface tidier.
⦁ Check the kernels before baking. Remove every piece of shell before adding nuts to cookies, cakes, or salads.
When a Traditional Nutcracker Is the Better Choice
Repurposing can be fun, but a purpose-made nutcracker is usually safer and more predictable. Choose a standard nutcracker if you need to crack a large batch, preserve whole kernels, or work with very hard shells. A small nutcracker, a sturdy tabletop model, or a nutcracker designed for the specific variety may be a better fit.
For an inexpensive, low-risk option, a traditional hinged nutcracker lets you control the pressure directly and makes it easier to remove the kernel without sending shell pieces through a modified mechanism.
Making the Most of Shelled Nuts
Once the nuts are cracked and carefully checked, use them in comforting fall recipes:
⦁ Stir chopped walnuts into banana bread or pumpkin muffins.
⦁ Sprinkle hazelnuts over a chocolate cake or warm oatmeal.
⦁ Add pecans to a salad with apples and a simple vinaigrette.
⦁ Toast chopped nuts in a dry skillet to bring out their aroma.
⦁ Mix them into homemade granola or a batch of spiced snack mix.
For the best flavor, store shelled nuts in an airtight container. Keep them in a cool, dark place for short-term use, or refrigerate or freeze them if you’re storing a larger supply.
A Thoughtful Second Life for a Kitchen Relic
Giving an old kitchen tool a new purpose can be satisfying, especially when it saves space and sparks a practical idea. A hand-crank meat grinder may be adaptable for small-scale nut cracking, but the project requires careful planning, secure parts, and sensible safety precautions.
I’d never force a grinder that jams or use a modified one for food preparation. If the design feels unstable, I’d choose a regular nutcracker instead. The best household solutions are the ones that make everyday tasks easier without adding unnecessary risk.
Have you ever repurposed an old kitchen tool? I’d love to hear which projects worked well in your home—and which ones turned out to be better left to the professionals.