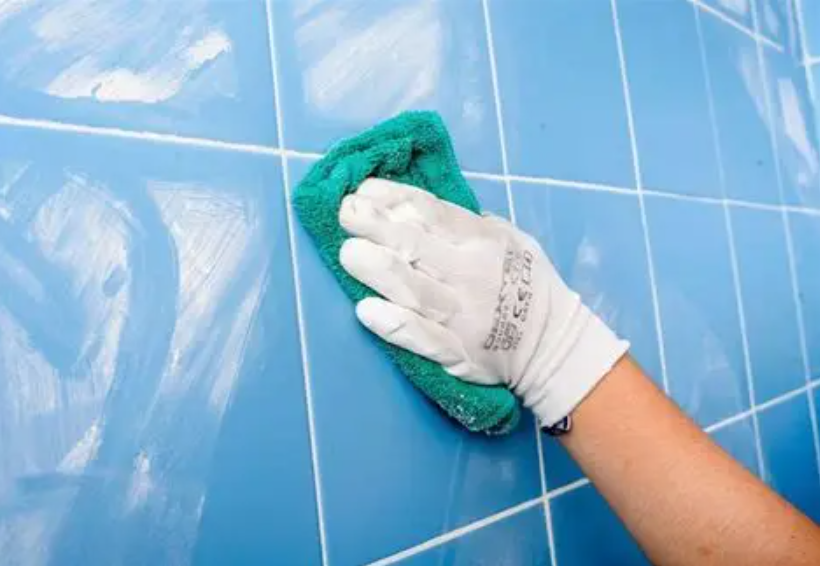
Sometimes all it takes is a glance below the tile to take the shine off a clean bathroom or kitchen. The tiles may sparkle, the faucet may gleam, and the floor may be freshly washed, but gray grout lines can still make the whole room look dingy. For a long time, I thought I simply wasn’t cleaning hard enough. Then I realized the problem wasn’t a lack of effort.
There’s a gentler way to clean dirty grout — without spending hours on your knees, breathing in strong chemical fumes, or buying a cupboard full of specialty cleaners. The key is to work patiently and avoid trying to solve the problem with brute force.
Why Does Grout Change Color?
Tile grout rarely stays bright for long, especially in bathrooms, kitchens, entryways, and around sinks. Grout is porous, so it can absorb moisture, soap scum, grease, dust, mineral deposits, and tiny particles of dirt over time.
In a bathroom, humidity and poor ventilation can make the problem worse. Dark spots and a musty smell may be signs of mold or mildew. In the kitchen, grease is often the main culprit. Even when you can’t see it on the tile, a thin film can trap dust and leave grout looking yellow or dingy.
That’s why the best way to clean grout depends on what caused the discoloration. Fresh soap scum, old stains, and mold may need different approaches. It’s best to start with a gentle method rather than reaching right away for harsh acids or stiff, abrasive brushes.
Why a Stiff Brush Can Make Grout Look Worse
It’s tempting to think that the harder you scrub, the whiter the grout will become. But grout is not as hard as tile. Repeated scrubbing with stiff bristles can wear away its surface. Once grout becomes rough, it may absorb moisture and grime more easily, and eventually it can crack or crumble.
I learned this on my bathroom floor. After a few rounds with a stiff brush, the grout lines looked lighter — but only briefly. A couple of weeks later, the grime returned, and it seemed to have worked its way in even deeper. The surface had become uneven, making it harder to clean.
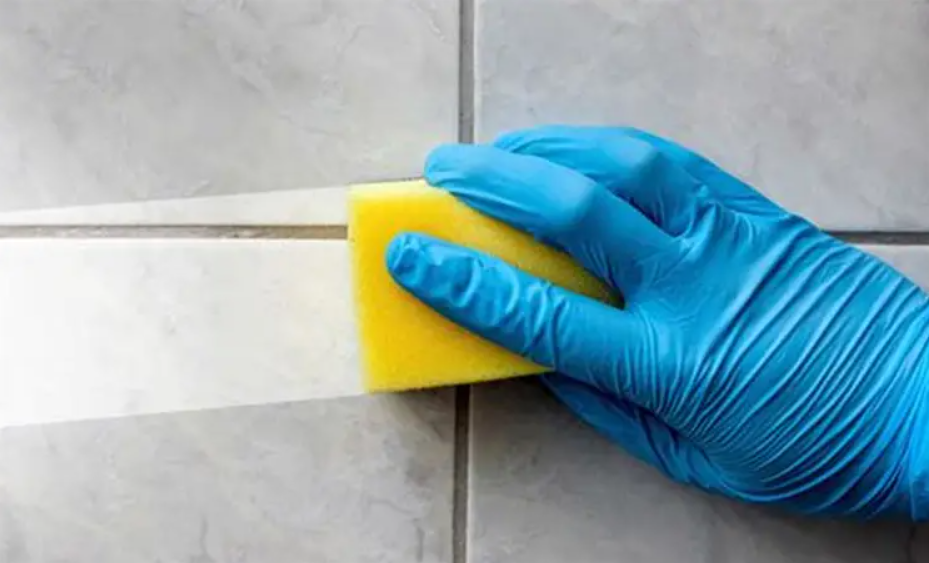
A melamine sponge, often sold as a cleaning eraser, works differently. When dampened with water, its dense foam acts as a very fine abrasive, helping lift surface grime without requiring much pressure. Still, use it gently and test it first. Melamine sponges can dull or scratch glossy, painted, or delicate finishes.

Baking Soda and Hydrogen Peroxide for Light-Colored Grout
For light-colored grout, a simple paste made with baking soda and 3% hydrogen peroxide may help brighten surface stains. Baking soda provides mild abrasion, while hydrogen peroxide can help lighten some organic discoloration, such as soap residue and yellowing.
To make the paste, combine about 2 tablespoons of baking soda with hydrogen peroxide, adding the liquid a little at a time until the mixture is thick and creamy. It should cling to grout lines rather than run down vertical surfaces.
Apply the paste to the dirty grout with a gloved finger, a soft-bristled toothbrush, or a small cloth. Let it sit for 5 to 10 minutes. There’s no need to leave it on for hours: dried paste can be harder to rinse away, and extra wait time doesn’t necessarily improve the results.
How to Clean Grout Without Exhausting Yourself
Once the paste has had time to work, lightly dampen the grout and gently wipe it with a wet melamine sponge. You don’t need to press hard. A few careful passes are usually enough to lift loosened grime.
Rinse the area with clean water, then dry the tile with a clean cloth. If the buildup has been there for years, you may not be able to restore the grout in one cleaning. That’s okay. It’s safer to repeat the gentle treatment a few days later than to scrub aggressively and damage the grout — especially if it’s older cement grout that’s already crumbling at the edges.
If you’re trying to remove mold from tile grout, cleaning the surface is only part of the solution. Afterward, dry the room well, check that the bathroom fan is working, and avoid leaving water on the walls or floor. If dark spots return quickly, the underlying issue may be persistent moisture, a leak, or poor ventilation rather than a lack of scrubbing.
A Few Safety Tips to Keep in Mind
Hydrogen peroxide is often used as a household cleaner, but it should still be handled with care. Wear gloves, since baking soda and hydrogen peroxide may dry or irritate your skin. Before treating a large area, test the paste on a small, inconspicuous spot — especially if your tile is colored, matte, or has a specialty finish.
Never mix hydrogen peroxide with bleach, acids, or other cleaners. Household cleaning products shouldn’t be combined unless their labels specifically say it’s safe. Mixing products can damage surfaces or create irritating fumes.
Ventilate the room while you clean. To make bathroom tile and grout easier to maintain, wipe down wet surfaces regularly and don’t let soap scum build up. Once the grout is completely dry, you can also consider applying a grout sealer according to the product directions. Sealing may help reduce moisture absorption and keep grout looking cleaner for longer.

When a DIY Grout Cleaner Isn’t Enough
Sometimes grout remains dark even after several gentle cleanings. The grout may be badly worn, mold may have penetrated below the surface, or its original color may have permanently changed. In that case, don’t keep making the cleaner stronger or scrubbing harder.
It may be more practical to remove and replace a small section of grout or use a grout colorant or renewal product designed for the job. It takes more effort up front, but it can be better than trying to hide the same problem with repeated cleaning. A clean home should make life easier — not turn every week into a scrubbing marathon.
With a little patience, you may be able to brighten grout without expensive products or exhausting scrubbing. What do you usually use to clean the grout between your tiles?